Hello all,
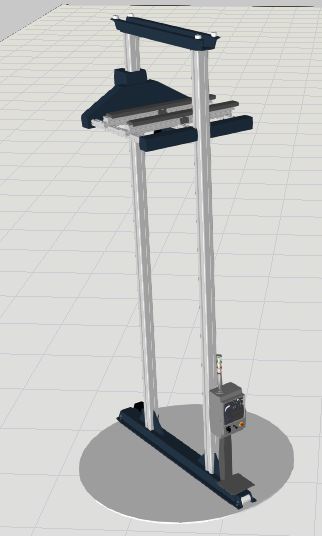
I am still very inexperienced, but I would like to make a crane rotate, so my idea was to put the crane on a round table to form a group and then rotate it. By hand this also works, how can I do this best automated, ie a pallet is delivered the pallet crane takes it up and rotates.
Do you mean to make a rotating component that can be automatically controlled? As far as I know, there are quite a few components in eCatalog that support using signal triggers to control rotation, such as “Indexing Table” and other Robot Workpiece Positioners. ![]()
Hello,
There are many ways to achieve automation effects, such as using Python scripts to drive servo, or using Process to drive servo, or using MODELING->Extra->IO-Control.
Specifically, Python script control requires a certain Python foundation, and sometimes appears redundant when performing multi-level speed changes. In comparison, the latter two are much more friendly. Process is located under the PROCESS module. Of course, you need a ProcessExecutor before using it. It can be provided by “PM Flow Components” or provided by the component itself. To control the action of a component, I usually prefer the latter. Under the MODELING module, you can set “TransportNode” and “ProcessExecutor” for the component to support the use of Process. After setting up, you can directly drive your servo under the PROCESS module, as long as you provide it with the distance and running time.
Ummm, it seems that the Process I mentioned may not be very suitable for people who are new to software, but it’s okay. We have one last way, using the IO-Control function of the MODELING module. This function only requires you to set up component links and components. The upper and lower limits of the link can be used to control the component. At the same time, it will automatically create two limit signals and an action signal (can be changed). Just click on it. Of course, behind the convenience is another The problem is, if you use IO-Control to control it, it will only allow limit movement. For example, the upper limit is 100 and the lower limit is 0. Then, when the action signal is True, the component will move to 100 or 0 (depending on your settings) , but for sure, the component will not stop at any data between 100 and 0, like “two points and one line”?
I hope what I said is not too difficult for you to understand, and I hope it can help you to a certain extent. ![]()
